|
A very quiet and slow class today. Please do less than you think you should, and remain committed to including your core, center, ribs, and whole self in the movements, even when the instructions do not say this!
Lessons that focus on the pelvis are always beneficial for everything below and above. When the hips move well, the knees are able to stick to their job: hinge. When hips don't move well, then we often find knee pain, some times ankle disorganization, and often issues with the jaw, and spine. The pelvis is at the root of much. My trainer, Richard, used to say "you are where your pelvis is" -- try moving around and see. If you put your head in a room, for example, are you really there? What about if you step in? Available on Patreon: patreon.com/heatherdanso In this lesson we clarify the location and movement of the hip joints and find more availability in the ankles, and participation in the low ribs, sternum, and upper chest. Now, of course, that means that the primary place of focus in the hip joints is only the beginning, and learning to facilitate the movement in the hips by softening the rest of you can transform your walking, sitting, and general sense of well-being. Two recordings available atpatreon.com/heatherdanso . We spend more time on some of the stranger movements at the end.
Tonight's lesson is a standing lesson mainly. When Feldenkrais was teaching ATM (Awareness through Movement lessons) to people who had returned from WWII, he would start with standing lessons. For people dealing with anxiety or trauma, they are often a little more accessible, because lying on the floor with eyes closed might not feel so possible. For us, they are opportunities to work with the way gravity moves through us actively. We often lie down, which is really standing, without all the work. Here, we will have all the moving parts of the dynamic relationships as we move in gravity. We'll move slowly like sloths. This will help us reorganize our hip joints, our feet, our legs, our spines, and ultimately improve our standing postures. 1. Have a chair nearby, especially if you have any issue with balance. You may not need it, but it's nice to have. Most of us used a wall at least once or twice. 2. Take of your socks, so you don't slip! Or, work on a sticky mat for padding, particularly if the hard floor is a bit hard on your bones. 3. Remember to organize with your normal breath, not a larger breath. Long and deep breaths may make you feel lightheaded. If you do feel this way, please sit down and take a nice long break. 4. One of the primary intentions of these classes is to downregulate the habitual places we keep tension, so keep your attention both specific and general - partly on the movement we are doing, and partly on where else you feel movement, where you can soften: your belly, your jaw, your hands, your shoulders. 5. Pay attention to your heel being aligned underneath the hip socket as best you can, particularly at the end of the lesson when you are making circles. Learning is more important than doing it right.
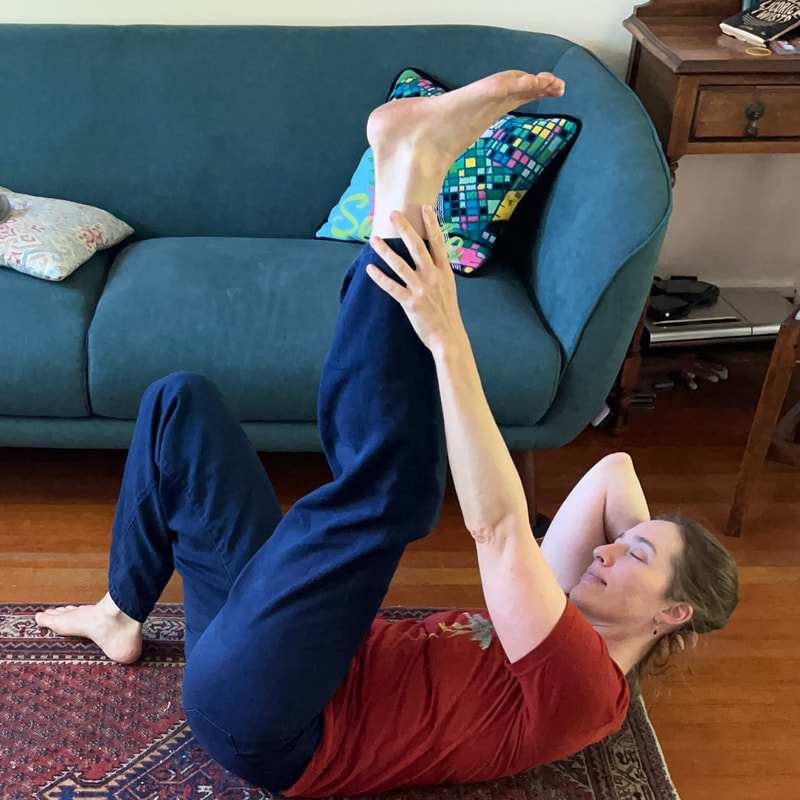
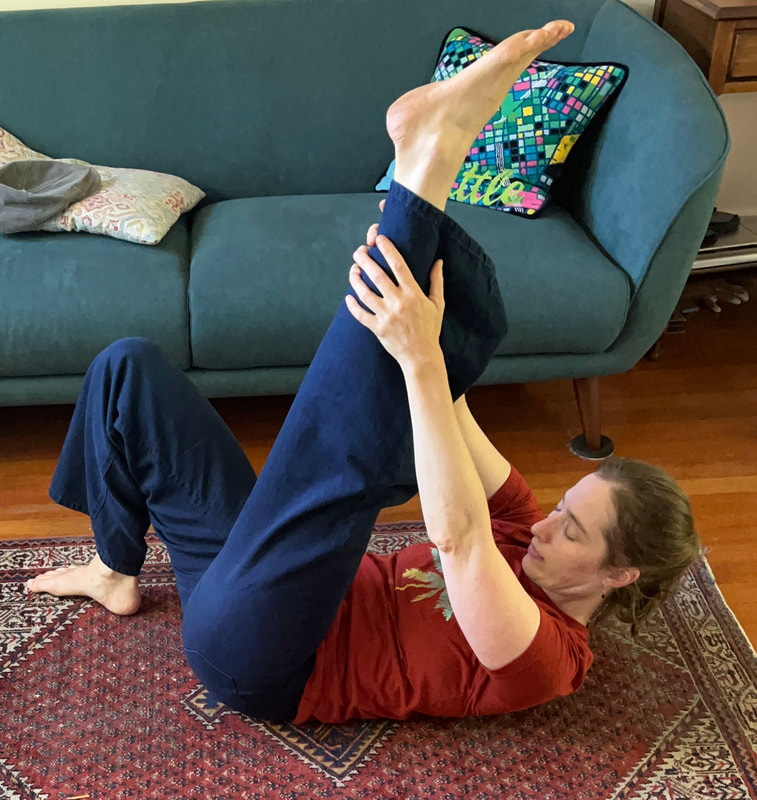
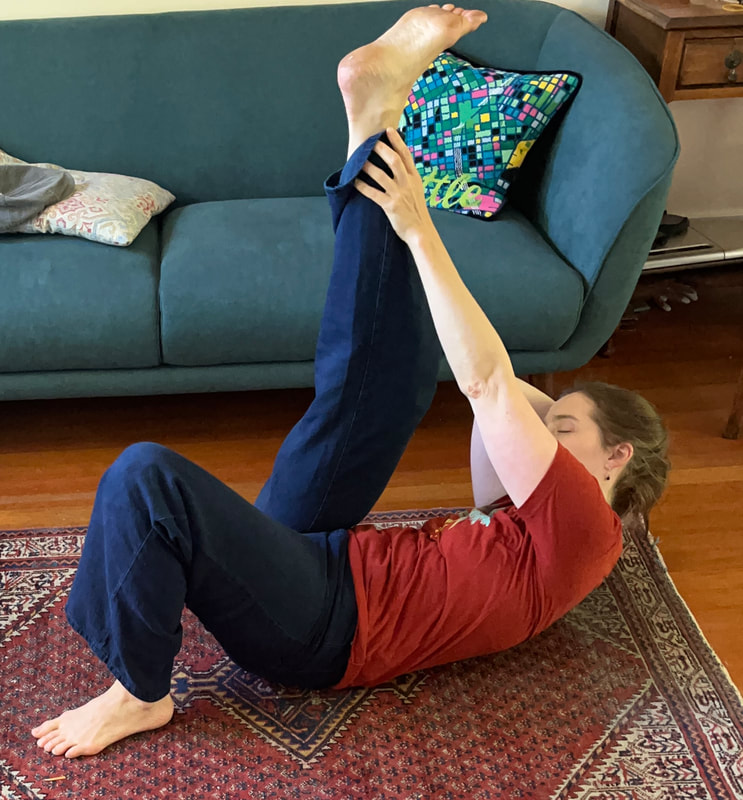
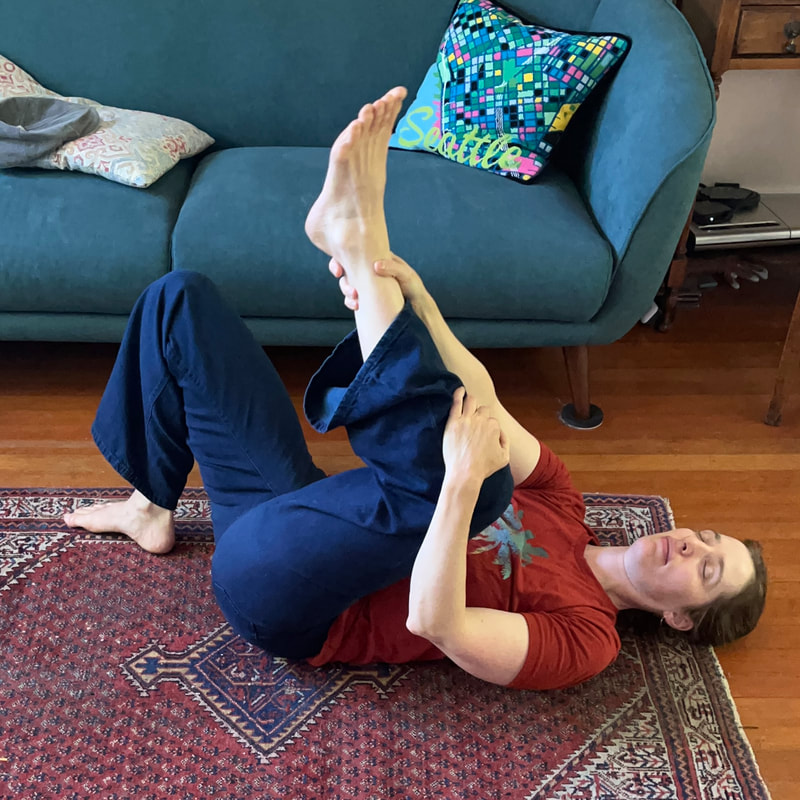
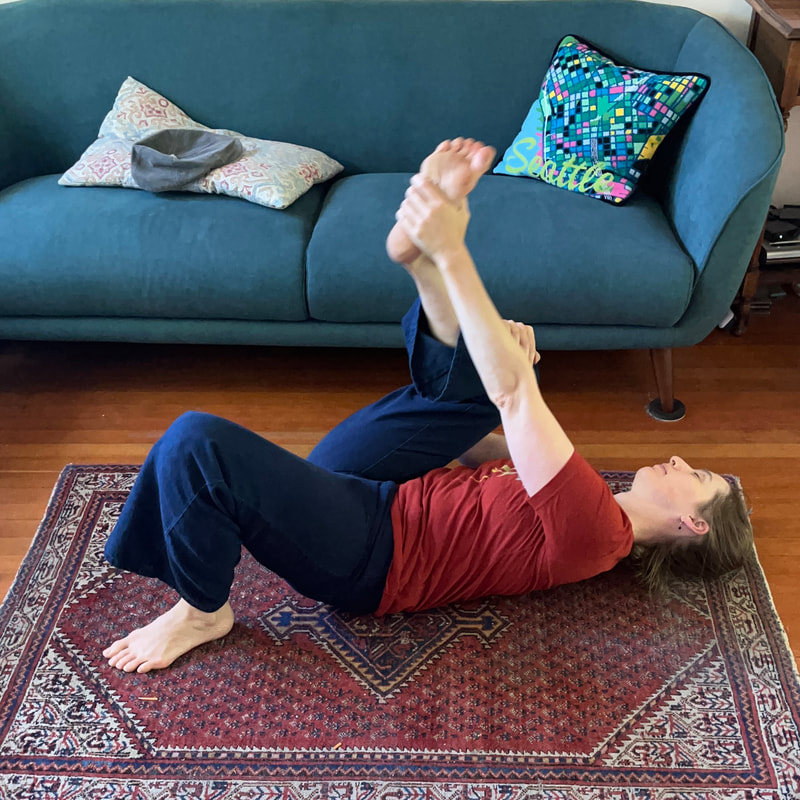
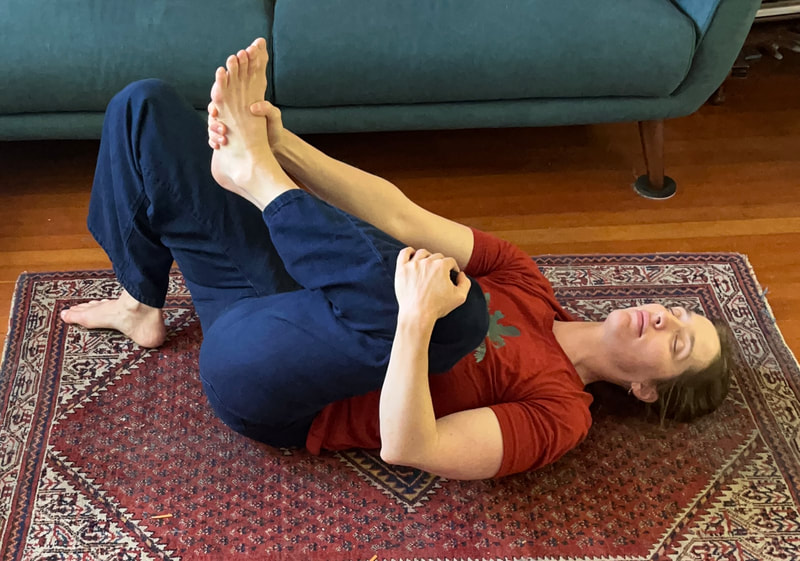
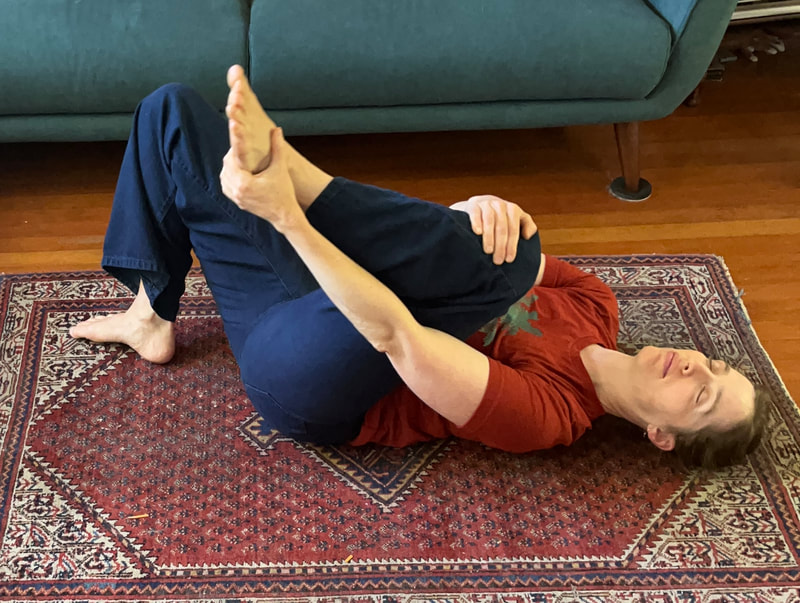
On one level, we are making friends with our whole leg, lower leg, foot and ankle. On another level, we are softening the chest, lengthening the back--lowering the static along the back body including back of the leg. This is a good moment to consider "reciprocal inhibition" - the principle that when the muscle on one side is working, the muscles on the other (ideally) soften. So, when we are lifting the head, we are engaging (gently) the front of us, which encourages the back of us to soften. And when we stand, things are recalibrated. What does that feel like? Perhaps greater stability with less work. You might feel like putting your socks on has suddenly become much more graceful, with your balance improved. Your hip joints may feel alive and softly present. Or, perhaps you feel how soft your lower ribs are, and how easy breathing is. Maybe something different? Here's a photo reminder of some of the possible shapes you may make (imagine me setting the timer on my phone and rushing to the floor! You'll probably be more relaxed. . .). Just so you know, these are after I have done this lesson--you may start with your legs much more bent than this. We finished with some variations of rolling and twisting for integration, and a wee chat among ourselves, which is not included in the recording.
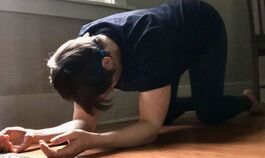
Begins with an exploration of standing and weight shifting. When we discuss in the beginning, there are at least three ways to shift your weight side to side: 1. Like a tree, all one long pole from ankle to head, shifting side to side with most of the movement happening in the ankle. 2. Swinging the head in the opposite direction as a counter balance, like a large C-shape. This is how we balance in side bending standing poses in yoga. (It is almost a subset of #3) 3. Leaving the head in the middle, doing all the shifting in the vertebrae and hips, legs, and ankles. This is a movement that we do in very well-organized walking. The movement lesson begins around 10-12 minutes, after scanning in lying, playing in standing shigting weigh, and scanning again. We find our way onto forearms and knees--a demanding position. This is a compound lesson with elements from a few ATMs, so no formal name or source. TAKE IT EASY. Remember to take breaks. To have the full length class, download the file (it is 1 hour)
How would you like to approach your learning? If each of these lessons is an experience in which you get to try on your learning--how would you play with that idea? A possibly challenging lesson, as all lessons are. Be mindful to make your padding for your knees wide enough that you have many options for how wide to place your knees as you move. The sound changes a bit for the second half, as my ear piece dies, but I did amplify it, so perhaps it is alright. Half of this lesson is active, half in the imagination. Position: On hands and knees, on knees, on back
Remember, the lesson isn't about the feet, exactly. Or is it? And how do you keep the whole sole of the foot on the Earth, while you circle? Must be something to do with the feet relative to the lower leg (ankles) and the leg relative to the hip joints, and....what is happening in the spine and ribs and head?
Recorded on June 4th, at Wise Orchid Tai Chi in Seattle, this lesson is a beautiful exploration that helps us to reorganize the way we use our hip joints. Being able to access and use the hip joint effectively can decrease lumbar pain simply because for many of us, we use our low backs and other parts of ourselves, instead of using this most important part of ourselves. Go slow, go small. The greatest improvements come from the smallest explorations.
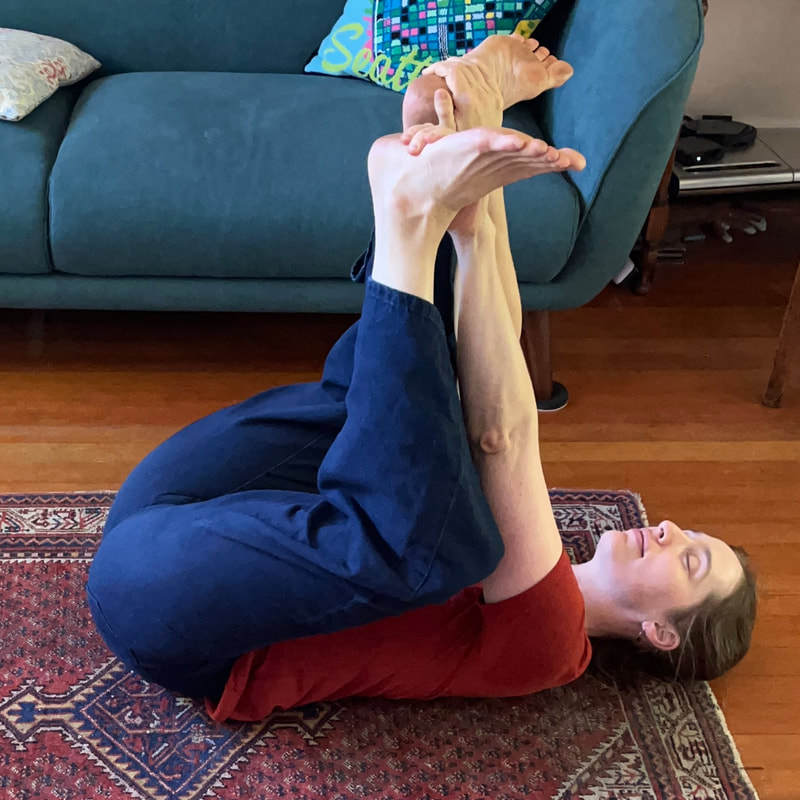
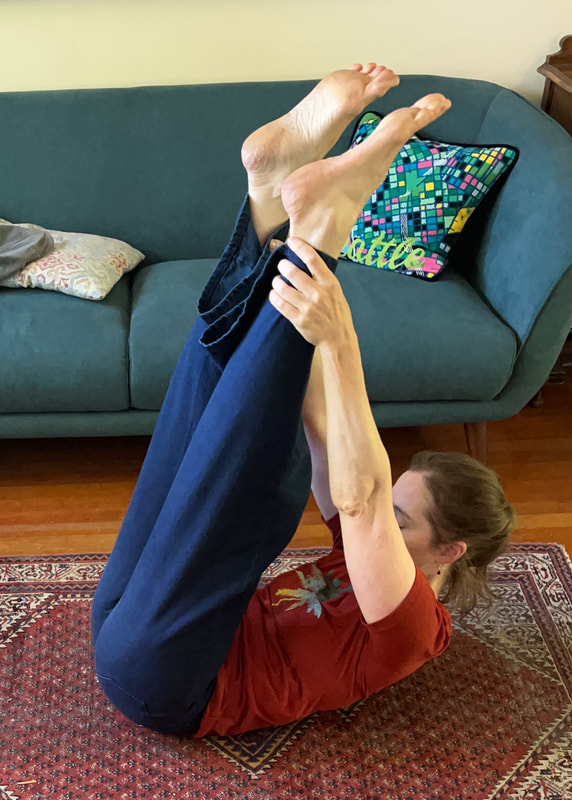
Releasing the Hips by holding the feetIn today's lesson, we will do movements similar to this, in a lesson based on the Alexander Yanai Awareness Through Movement® lesson. The image can be useful, as we use our eyes to learn, as well as our sensing. But, as with any image, the purpose is to help you discover the possibility for movement within your own system, and that possibility may be smaller, feel different, require a speed that allows for you to deeply sense yourself.
Only work in ease and curiosity, when you are stuck, use your imagination. Next week, we continue on with building intelligence in the hip-joint, which affects the knees, and the feet! Audio to be posted after class this evening. |
HOW-TORecorded at public classes, All audio classes are now on Patreon. Please read the HOW-TO before doing a lesson. Archives
April 2024
Categories
All
|
||||||||||||||||||||||||||||||||||||||||
Heather Emanuel, GCFPSchedule Appointment
|
|

 RSS Feed